はじめに
rosbridgeを使用して、ロボットをWeb上でVirtual Joystickによって操作する方法をまとめます。
実行環境
| CPU | Core i7-10875H |
| Ubuntu | 18.04.5 |
| ROS | Melodic |
HTMLファイルの記述
以前インストールしたroswwwとrosbridgeを活用して、Virtual Joystickでロボットを操作するGUIを実装します。
まずは、下記のHTMLファイルをroswwwのディレクトリ内に保存します。roslibjsを活用してcmd_velをPublishしています。
<!DOCTYPE html>
<html>

<head>
  <meta charset="utf-8" />

  <script type="text/javascript" src="http://static.robotwebtools.org/roslibjs/current/roslib.min.js"></script>
  <script type="text/javascript" src="https://cdnjs.cloudflare.com/ajax/libs/nipplejs/0.7.3/nipplejs.js"></script>

  <script type="text/javascript" type="text/javascript">
    var ros = new ROSLIB.Ros({
      url: 'ws://localhost:9090'
    });

    ros.on('connection', function () {
      document.getElementById("status").innerHTML = "Connected";
    });

    ros.on('error', function (error) {
      document.getElementById("status").innerHTML = "Error";
    });

    ros.on('close', function () {
      document.getElementById("status").innerHTML = "Closed";
    });

    var txt_listener = new ROSLIB.Topic({
      ros: ros,
      name: '/txt_msg',
      messageType: 'std_msgs/String'
    });

    txt_listener.subscribe(function (m) {
      document.getElementById("msg").innerHTML = m.data;
      move(1, 0);
    });

    cmd_vel_listener = new ROSLIB.Topic({
      ros: ros,
      name: "/cmd_vel",
      messageType: 'geometry_msgs/Twist'
    });

    move = function (linear, angular) {
      var twist = new ROSLIB.Message({
        linear: {
          x: linear,
          y: 0,
          z: 0
        },
        angular: {
          x: 0,
          y: 0,
          z: angular
        }
      });
      cmd_vel_listener.publish(twist);
    }

    createJoystick = function () {
      var options = {
        zone: document.getElementById('zone_joystick'),
        threshold: 0.1,
        position: { left: 50 + '%' },
        mode: 'static',
        size: 150,
        color: '#000000',
      };
      manager = nipplejs.create(options);

      linear_speed = 0;
      angular_speed = 0;

      manager.on('start', function (event, nipple) {
        timer = setInterval(function () {
          move(linear_speed, angular_speed);
        }, 25);
      });

      manager.on('move', function (event, nipple) {
        max_linear = 5.0; // m/s
        max_angular = 2.0; // rad/s
        max_distance = 75.0; // pixels;
        linear_speed = Math.sin(nipple.angle.radian) * max_linear * nipple.distance/max_distance;
				angular_speed = -Math.cos(nipple.angle.radian) * max_angular * nipple.distance/max_distance;
      });

      manager.on('end', function () {
        if (timer) {
          clearInterval(timer);
        }
        self.move(0, 0);
      });
    }
    window.onload = function () {
      createJoystick();
    }

  </script>
</head>

<body>
  <h1>Simple ROS User Interface</h1>
  <p>Connection status: <span id="status"></span></p>
  <p>Last message on /txt_msg: <span id="msg"></span></p>
  <div id="zone_joystick" style="position: relative;"></div>
</body>

</html>
launchファイルの起動
fetch gazeboやmove_base等を起動した後、roswwwパッケージのstart_bridge.launchを起動します。
$ roslaunch roswww start_bridge.launchブラウザから操作する
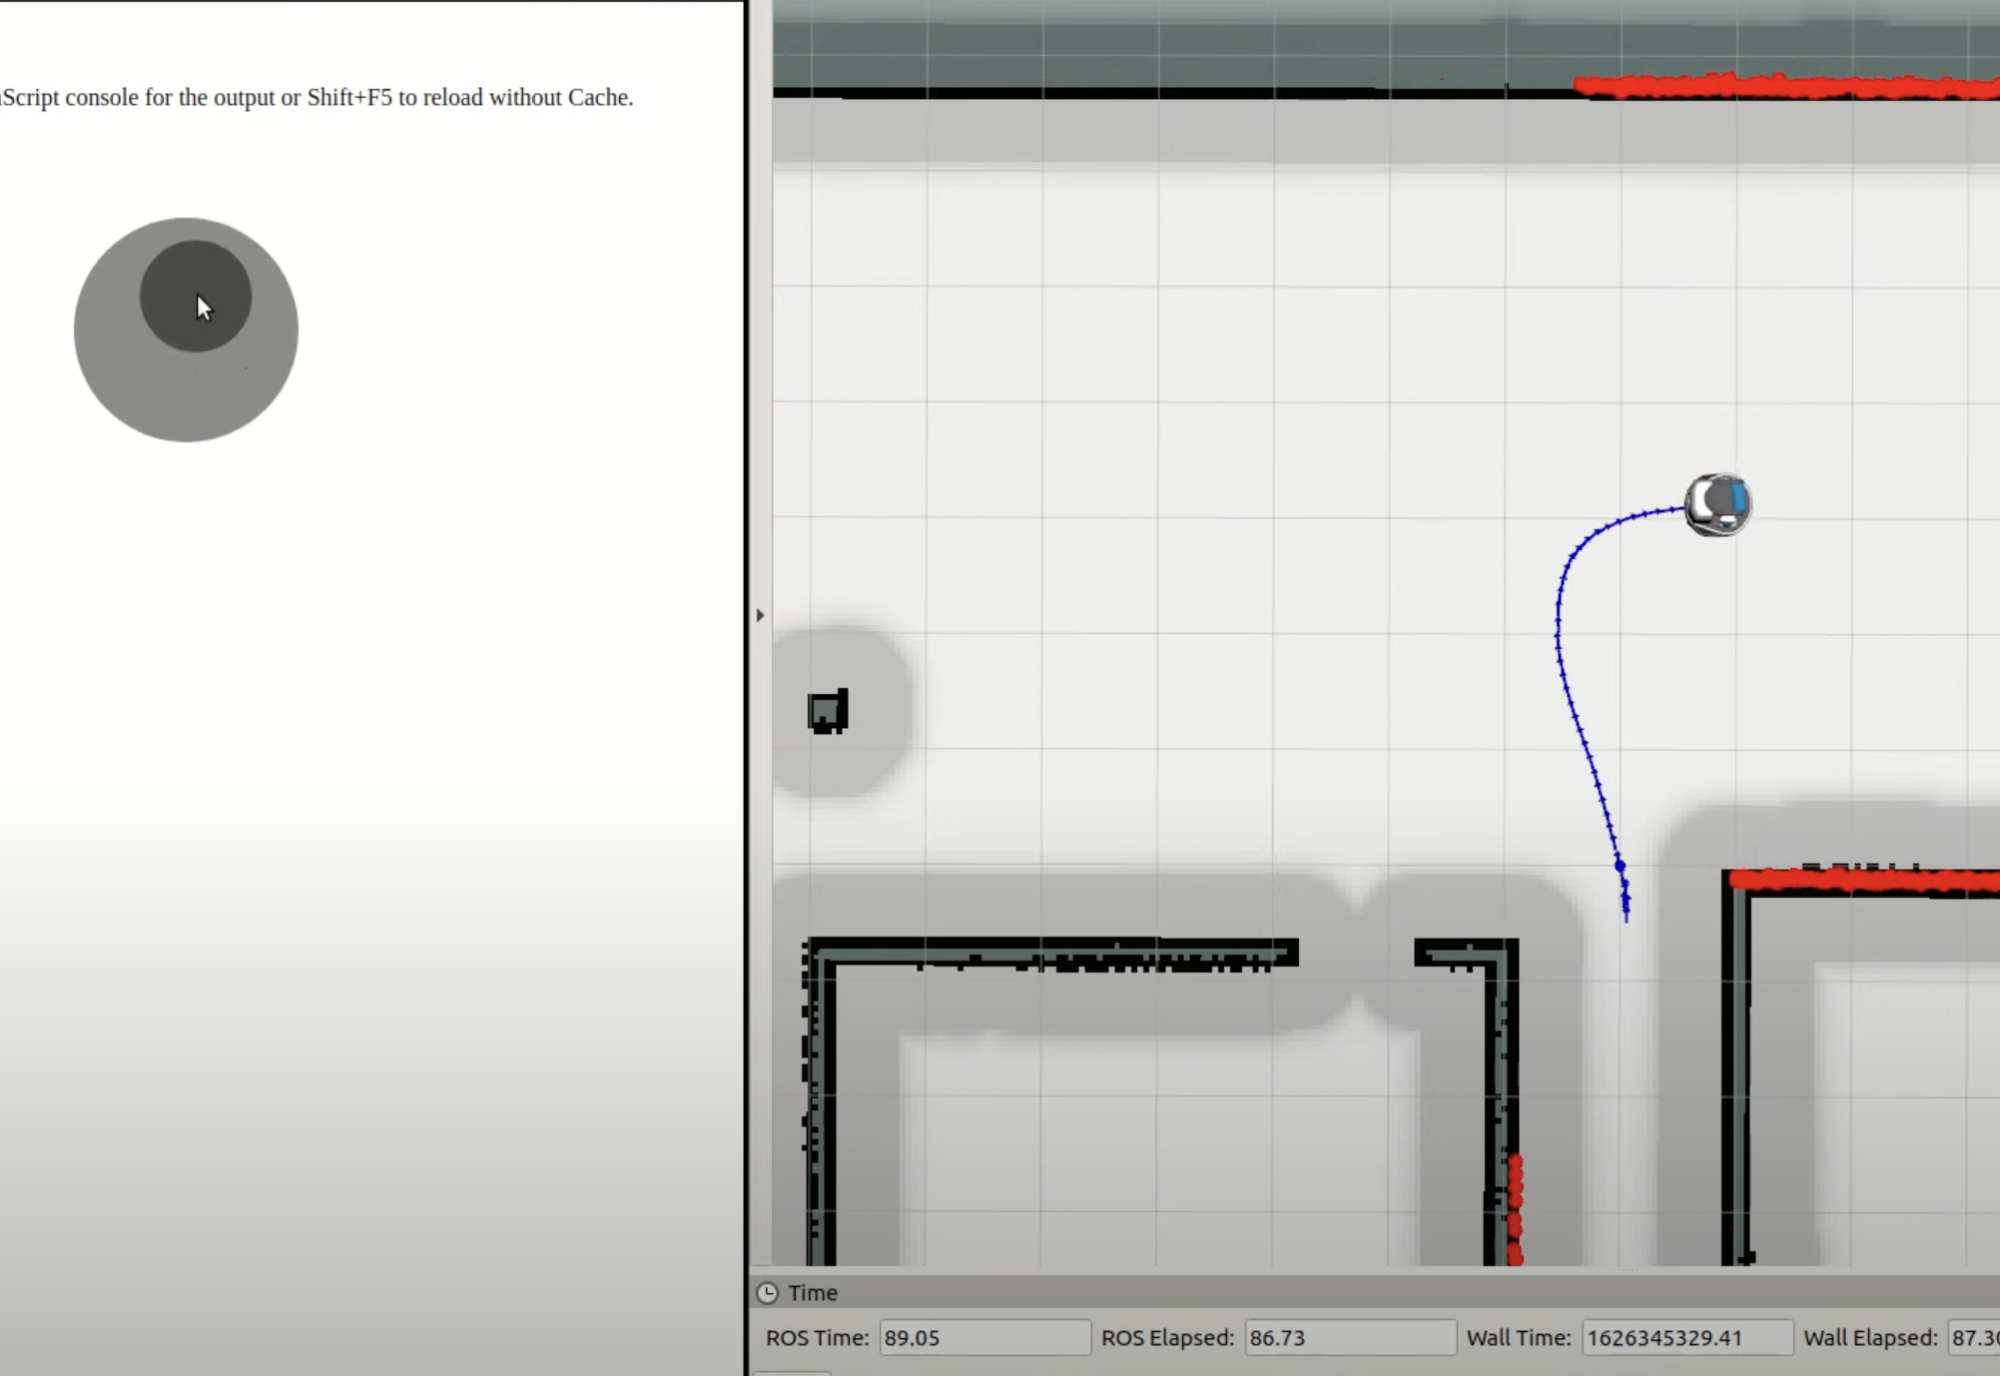
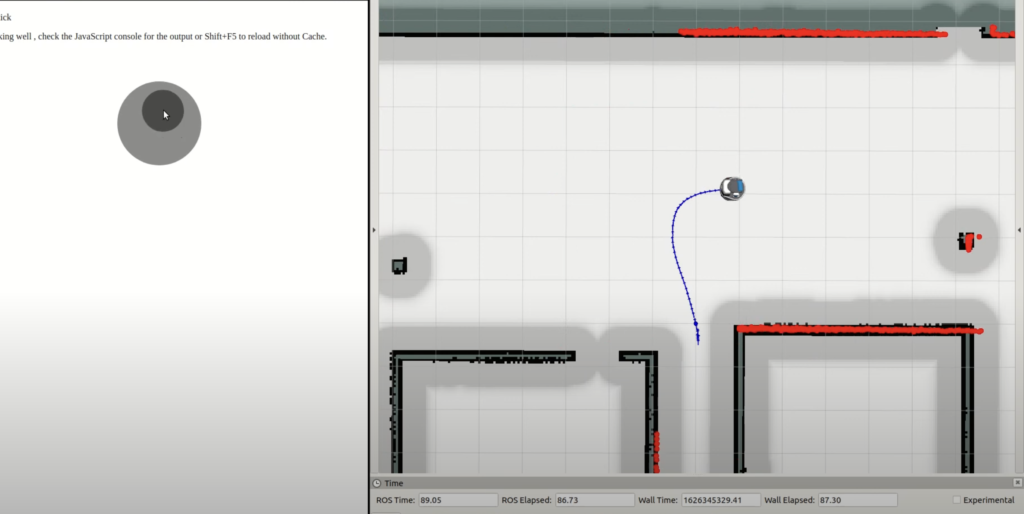
Chrome等のWebブラウザを立ち上げ、http://localhost:8085/roswww/index.htmlにアクセスします。
Joystickでロボットを移動させることが可能です。
他の端末から操作したい場合には、localhost:8085をローカルIPアドレス:9090に置き換えます。